Introduction to Muay Thai Equipments
- Posted on:
-
Author:
admin
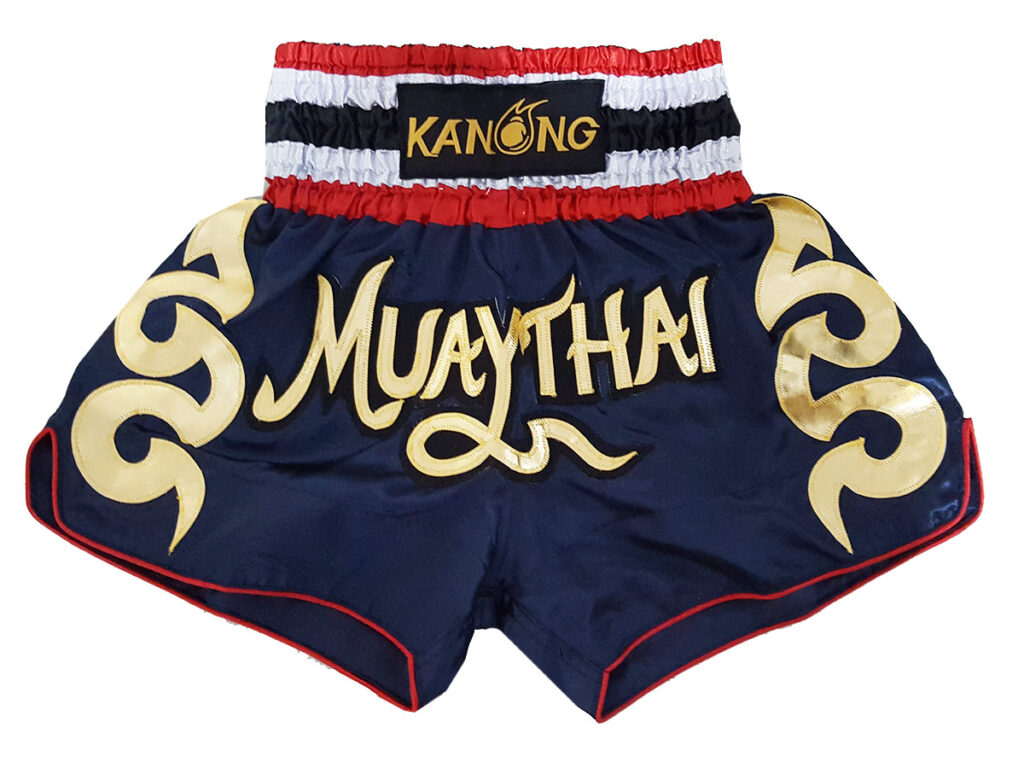
- Muay Thai Shorts
Short Muay Thai (ムエタイパンツ) Training requires you to be in a Muay Thai gear that allows your legs and thighs free movement. The right thing to wear is Personalized Muay Thai shorts [กางเกงมวยไทยสั่งทำ]. You will probably like how these custom Thai Boxing shorts make you appear and feel like a real “Nak Muay” (Thai Fighter).
The market offers various Muay Thai Boxing shorts; thus, you only need to select a quality and Custom perfect-fitting pair of Muay Thai shorts.
It is worth nothing that Muay Thai shorts have a shorter length than MMA shorts. They are very comfortable on the body for you to throw kicks freely. It’s also perfect as Boxing outfit. (ของที่ระลึกของขวัญ ของฝากจากไทย)

- Muay Thai boxing gloves
Anyone who has been doing Muay Thai can tell you that a pair of Boxing gloves is significant for anyone when you are training until you participate in fights. Why should you wear boxing gloves? They protect your hands, specifically the knuckles, from breakings and injuries when hitting your partner or in a sparring situation. Also, they will protect your partner from getting hurt.
Generally, Boxing gloves are meant to enhance safety while you train or fight.
TAKE AWAY: Research on the best pair of gloves that suits you before purchasing one
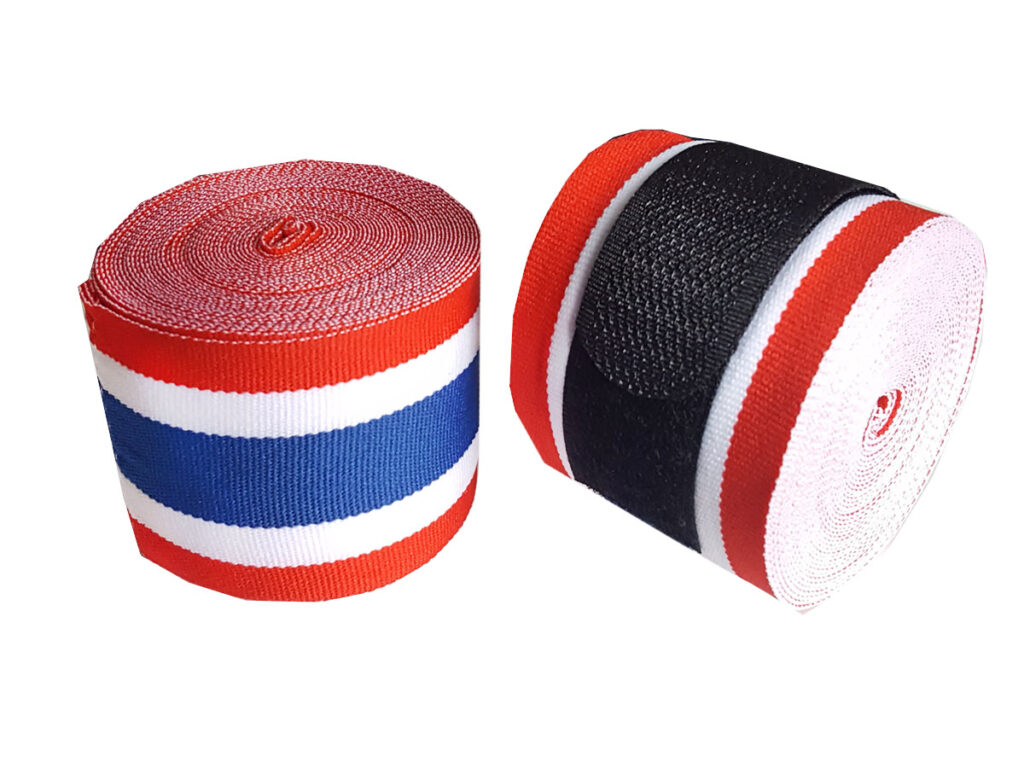
- Hand Wraps
Hand wraps are designed to protect your wrists from injuries. For some people, they do not find them necessary. However, they are vital if you need safety in Muay Thai training. How do hand wraps protect you? Whenever you throw a punch and hits your partner or a heavy punching bag, it creates a sudden pressure that can easily break the bones of your hand. To counter the impact, hand wraps absorb the shock, thus protecting your wrists.

- Custom Muay Thai Shorts and Equipment
Custom Muay Thai Equipment including Custom Muay Thai shorts, Customized Boxing Gloves, Custom Boxing gear and also equipment for personal and gym is special for Muay Thai Sport, it’s show identity of yourself and your gym. If you are looking to make your design unique, customize is good choice of selections.

- A Mouth Guards
Another essential equipment you must have for Muay Thai training. One of the crucial parts that deserve a lot of safety and care are your teeth. A mouth guard absorbs shock directs towards your mouth, thus protecting your teeth from such impact.
You should never lack a mouth guard more so if you do a lot of sparring or clinching.
Mouthguards are usually available as custom-made or boil-and-bite guards. Custom guards tend to be the best but more expensive. However, you can go for the other option if you are on a tight budget.

- A pair of Shin Guards
Shin guards are made of a thick padded layer to protect your shin and instep of your legs. Shin guards are vital while sparring or doing other Muay Thai drills with a partner.
Muay Thai shins are available in two forms, i.e., those with straps and sock form.
Most people training Muay Thai use the common shin guards with straps as they offer the most protection from kicking. On the other hand, the shin guard socks are made out of stretch cotton, but its padding provides minimal protection for your shins. They are mostly used by MMA fighters.
Just like the above-discussed pieces of equipment, shins are of many varieties in the market offered by different brands.
- Groin Guard
You understand that the groin is a very sensitive part of your body that needs protection. For men, these are among your body areas that need the most protection, and that is why you need a groin guard. Remember, while doing Muay Thai training and drills, a partner might accidentally hit your groin more so beginners with little skills. Groin guards are affordable equipments manufactured by different brands in varying styles; thus, anyone can find a piece.
Most people practicing Muay Thai in Thailand do not use groin guards because they are highly skilled in controlling their kicks. On the other hand, those in western countries are recommended to utilize this equipment.
Additional equipments
The above discussed Muay Thai equipments are the essentials anyone in training Muay Thai should own. However, there are other equipments one may possess, but they are not necessary. They include:
- A training bag helps you store all your Muay Thai equipments in one place or carry them while going to the gym.
- Elbow pads
- Knee pads
- A skipping rope
- Headgear
- A dry-fit T-shirt
Conclusion
When choosing any of the above-discussed equipments, consider the quality and reputable brands. It will save you the pain of buying poor equipments that will need replacement within a short period of use.